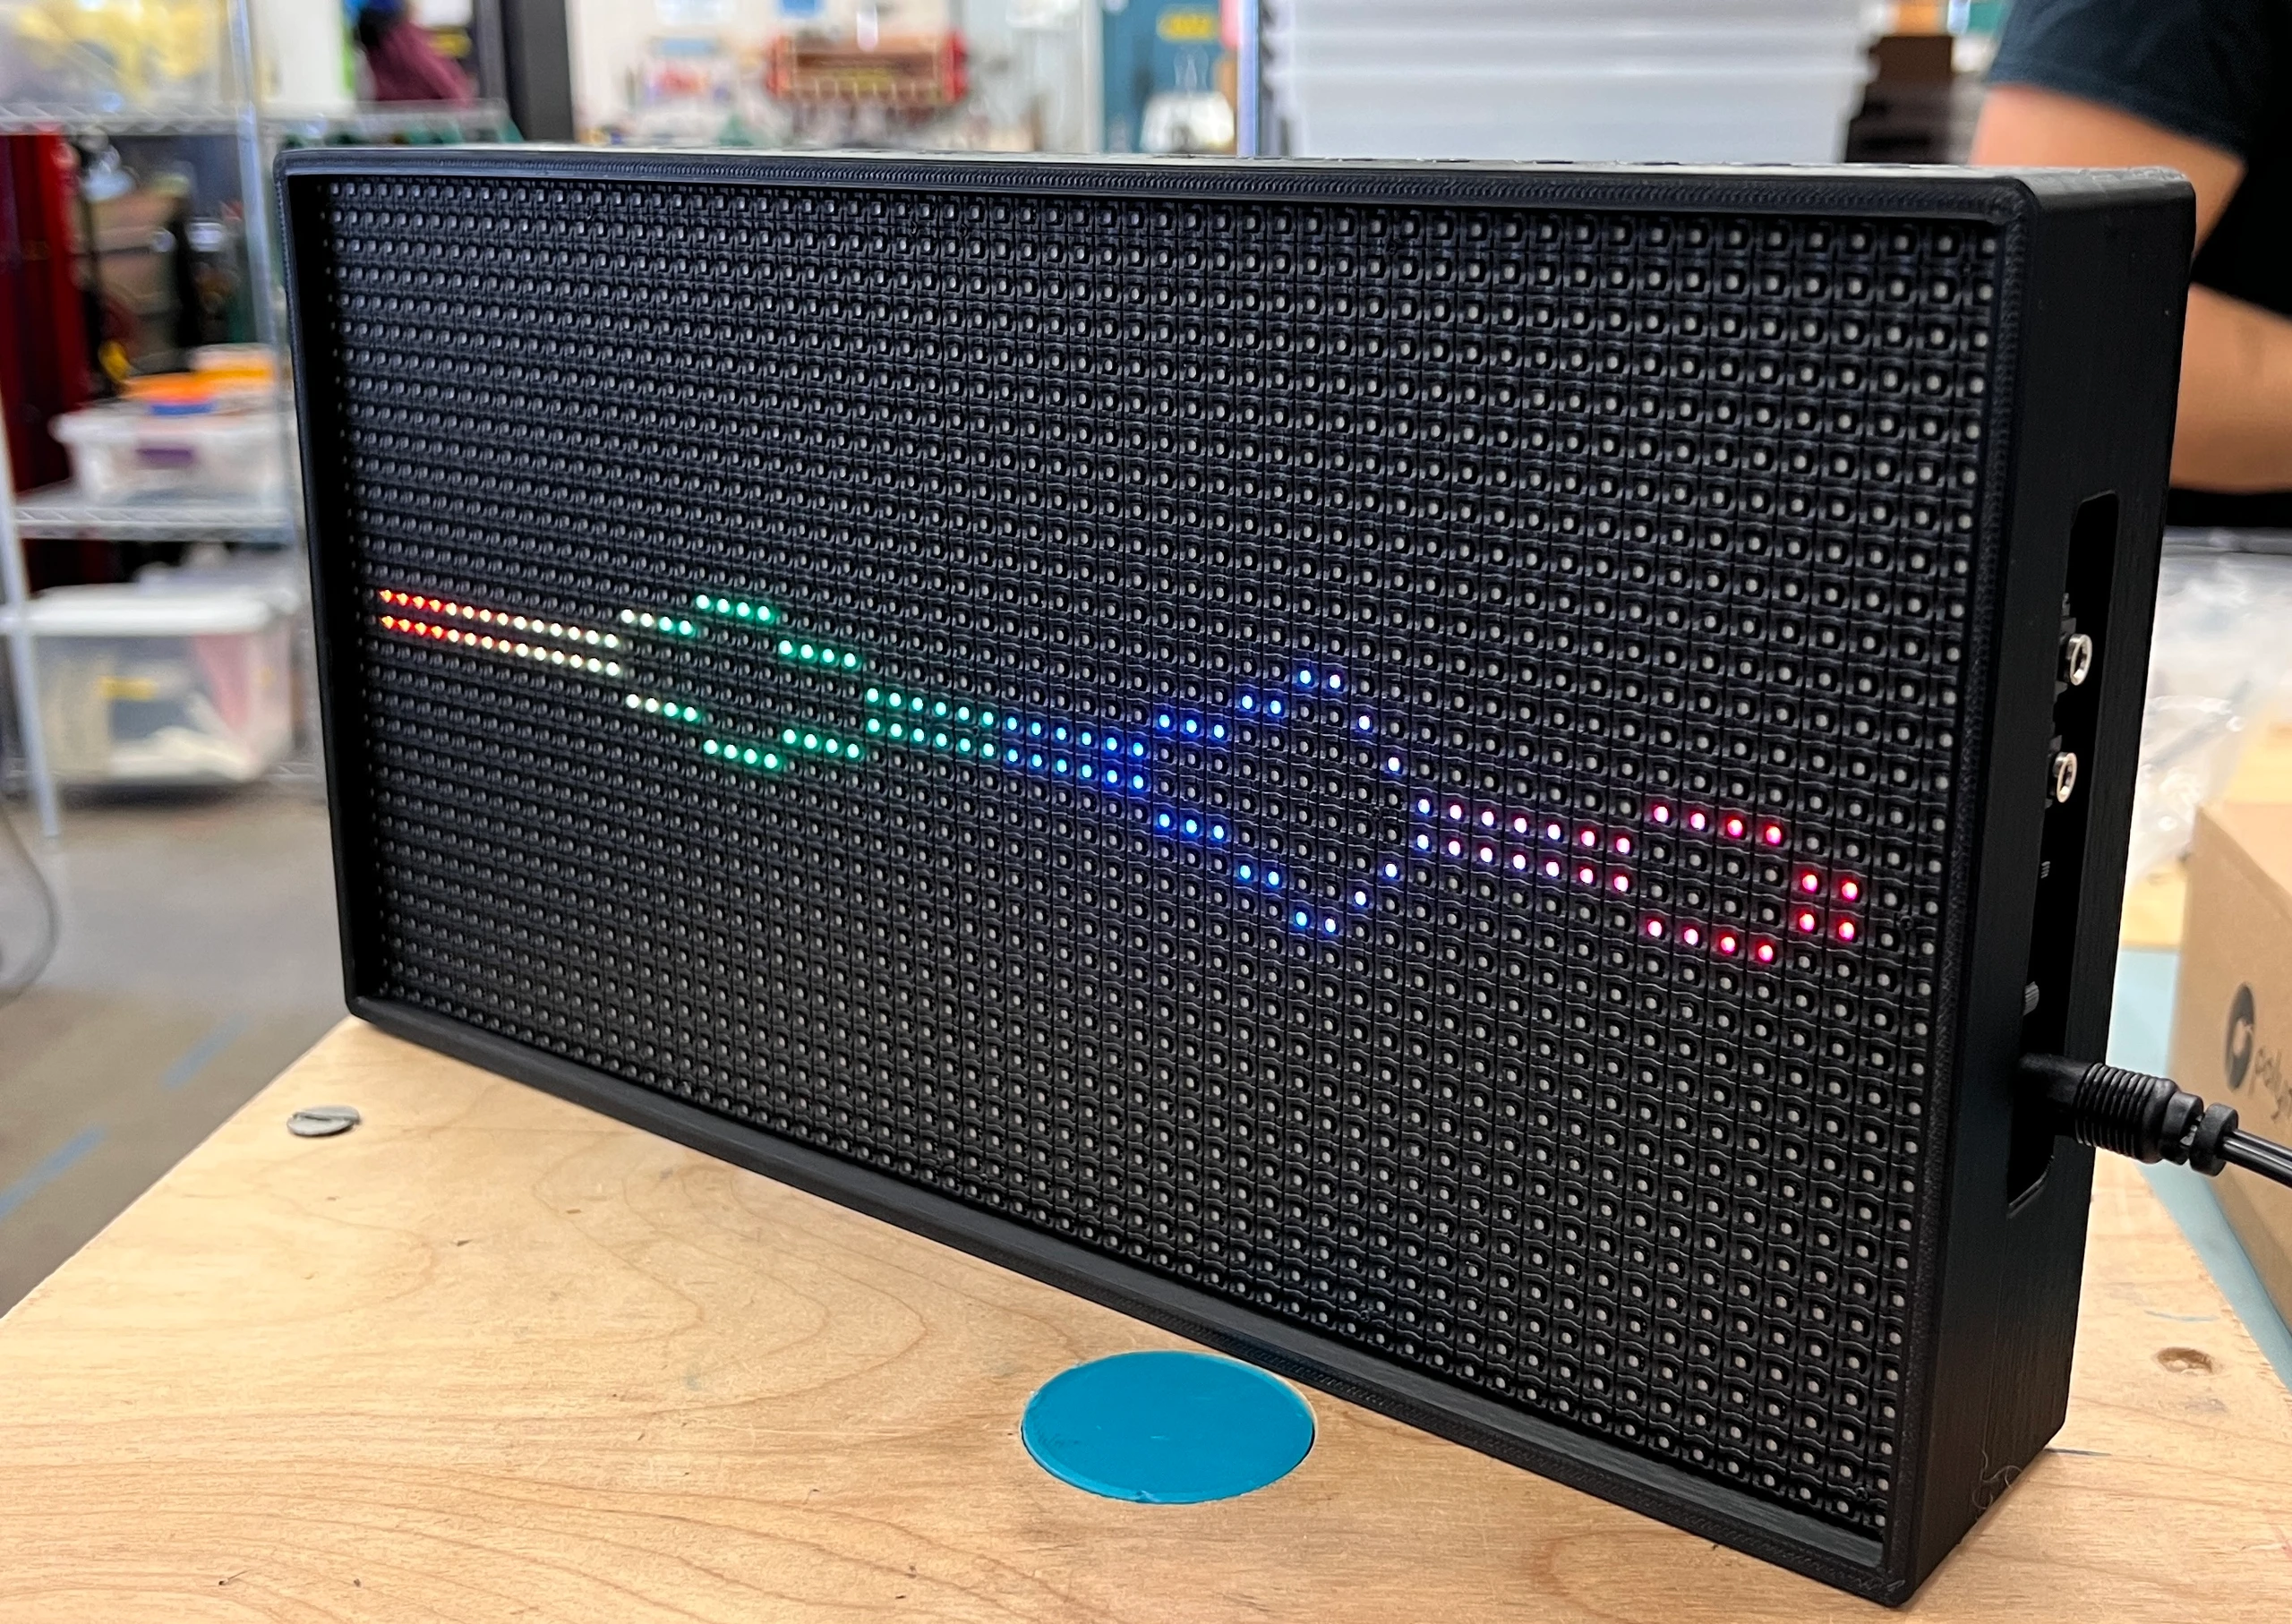
Overview
TeensyVisualizer is an entirely on-chip hardware spectrum analyzer that displays frequency bins from either line-in or microphone input on an RGB LED Matrix display. Unlike most Teensy-based audio visualizers that rely on expensive and slow Fast Fourier Transforms, this project uses two MSGEQ7 graphic equalizer ICs, for real-time analog audio frequency data.
The system displays 14 bands across 40Hz-16kHz on HUB75 RGB LED matrices, with configurable display modes and color profiles. All settings are non-volatile and stored in the Teensy's onboard EEPROM. The LED matrix sits in a custom 3D printed case, with a white acrylic diffuser panel.
Featured on the Tindie Blog in August 2022.
The MSGEQ7 is a 7-band graphic equalizer IC from 2004 that splits an audio signal into seven frequency channels using analog bandpass filters and peak detectors. It multiplexes these peak signal levels into a single analog output, allowing one to read real-time audio frequency data without FFT. It's a cool solution that bypasses the need for real-time DSP and FFT, which is typically slow on most microcontrollers.
Hardware Design
Core Components
| Component | Purpose |
|---|---|
| Teensy 4.0 ARM MCU | Microcontroller (600MHz ARM Cortex) |
| SmartMatrix SmartLED Shield | HUB75 LED matrix driver |
| 2 MSGEQ7 Graphic Equalizer ICs | Hardware frequency analysis |
| SI5351A Clock Generator | Frequency offset for 14 channels |
| LM358 Dual Channel Op Amp | Audio input amplification |
| HUB75 64x32 P5 LED Matrix | Display (any size supported) |
Dual MSGEQ7s
A single MSGEQ7 chip provides 7 frequency bands. To achieve 14 independent bands, I use two chips with a clever trick: the onboard SI5351A Clock Generator feeds two different external clocks to offset the center frequencies of each MSGEQ7. This effectively doubles the number of frequency bins while maintaining the analog character of the hardware filters.
Since the MSGEQ7 charges internal capacitors
Audio Input
The board supports two input methods, selectable via an onboard switch:
- 3.5mm Line-In: Passthrough connection for any audio source
- Built-in Electret Microphone: For ambient audio
Both inputs feature adjustable gain through the dual op-amp circuit. Two trimmer potentiometers allow fine-tuning:
- Microphone circuit: up to 100x gain (adjustable via R7)
- Line input: up to 2x gain (adjustable via R3)
Features
Here are some other features not mentioned:
- Automatic Matrix Scaling: Supports any matrix size with daisy chaining
- Dual Input Modes: Switch between line-in passthrough or built-in microphone
- Adjustable Gain: Dual channel amplifier with trim pots
- Mode Selection: Onboard button to cycle display modes
- Brightness Control: Onboard potentiometer for brightness adjustment
- Non-Volatile Storage: Settings persist across power cycles
- Auto-Dimming: Display dims automatically when no audio is detected
The software utilizes the following open-source libraries:
- SmartMatrix: HUB75 LED matrix driver
- FastLED: LED animation library
- SI5351MCU: Clock generator control
PCB Design
The custom PCB integrates all components into a compact form factor designed to mount directly behind the LED matrix panel. Sockets are used for all ICs including the Teensy, allowing for easy replacement. The board connects to the SmartLED Shield via 2x14 male header pins. This was the first PCB I ever designed, and at the time, I didn't have the equipment to do SMT soldering, so I chose to make all the components through-hole. Also, I used EasyEDA as my design software — these days I use KiCad.
3D Printed Case
I also designed a custom 3D printed case for the visualizer, designed for the standard 320mm x 160mm 64x32 LED matrix with a pitch of 5mm. The case requires six M3x30mm screws and provides a clean, finished look for the visualizer. It has cutouts for the PCB I/O, button, and potentiometer. A white acrylic diffuser panel, which I laser cut, is placed in front of the display and is flush with the front of the case.
Build Your Own
The project is fully open source on the GitHub repository, and you can order your own components, 3D print your own case, and order a PCB from the files included there.
If you are interested, you can buy a full kit, as well as bare PCBs, from Tindie. The kit includes everything needed to build a TeensyVisualizer. I've had several people reach out about purchasing these.